Installing an Ammo Counter
This is a small walk through of installing one of my ammo counters.
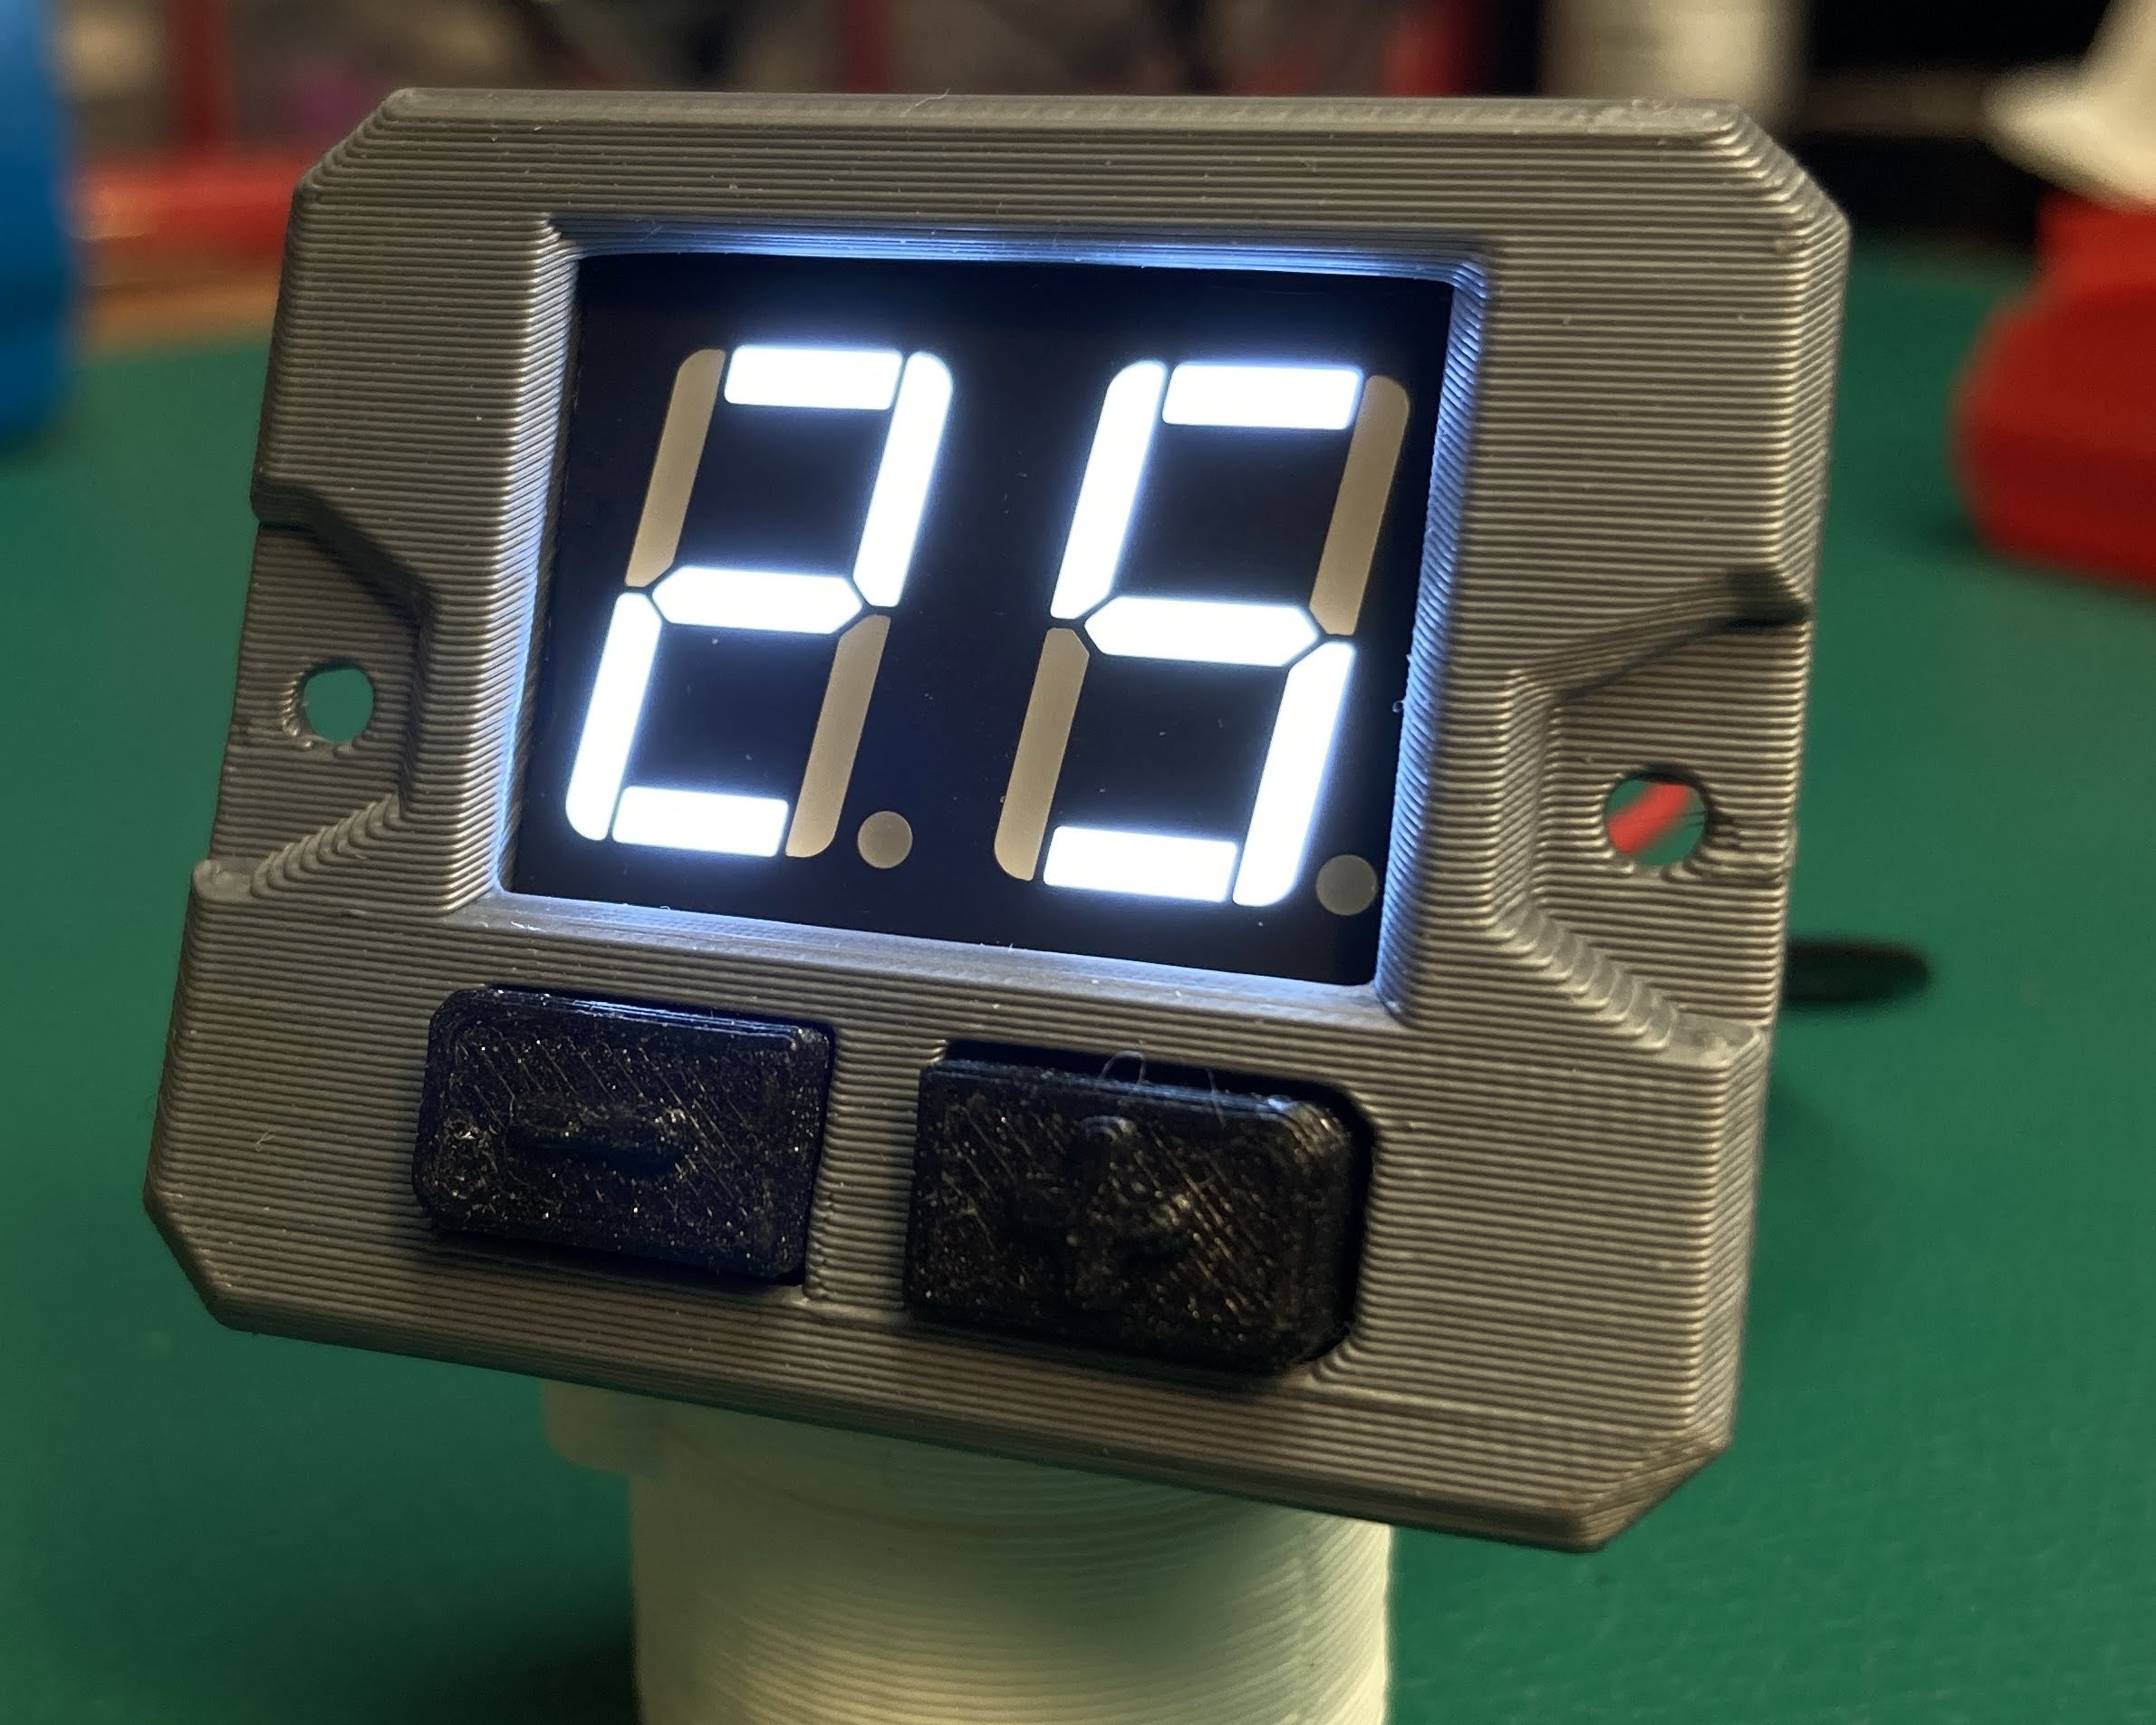
Power up and overview
Your ammo counter is ready to power on out of the box. Just insert batteries, then find the switch on the battery box.
If your kit came with a lever switch, press it and you will see the count change. For the optical sensor, aim the two beam sensors at each other and break the IR beam.
- Change ammo clips: Click left or right to cycle between the clips.
- Change ammo count: Hold right button until the display is flashing, then click left/right to change the ammo. Press and hold right to save the setting.
Install
Your kit came with all the wires pre-soldered. However, it is still recommended that you cut the wires and re-solder to adjust the wire lengths to match your build.
Lever switch
To install the lever switch, open your blaster and examine the trigger and action assemblies. You are looking for a spot where there is a moving piece that can push into the lever switch with each shot fired.
The lever on the lever switch is quite long to support a variety of builds. You can trim the lever shorter to fit your install by bending it back and forth several times with a needle nose pliers.
Optical sensor
Coming soon
3D printed case
Designed by Nathaniel Deal, these cases print reliably on a Prusa Mk3s.
Housing assembly
Settings
Navigation
- Hold the left button to enter the settings menu.
- Press the left / right to navigate the settings.
- Hold the right to edit a setting.
- Hold the right to save a setting.
- Hold the left to exit the settings menu.
Features
- Auto Reset (A0 - A9): Number of seconds after 00 is reached before auto reset.
- Brightness Level (B1 - B5): Adjust the brightness of the LED display.
- Calibrate (C0 - C9): Ignore this. The digital optical sensor does not need calibration.
- Low Ammo Warning (L0 - L9): Set the counter to blink when the ammo is low.
- Fire Detector Type (F0 - F2): Rising Edge / Falling Edge / Analog Voltage Threshold
Other info
- Setting the clip size to 00 puts the ammo counter into "count up" mode.
- Setting A0 / L0 will disable auto reset / low ammo warning.
FAQ
How do I switch between different clips?
Click left or right to cycle between the clips.
How do I change the ammo count?
Hold the right button until the display is flashing, then click left/right to change the ammo. Press and hold right to save the setting.
What does clip size 00 do?
Setting the clip size to 00 puts the ammo counter into "count up" mode.
How do I disable auto reset and low ammo warning?
Setting A0 / L0 will disable auto reset / low ammo warning.
Do I need to calibrate the optical sensor?
No. The digital optical sensor does not need calibration (Calibrate C0 - C9 can be ignored).